Phase Connect - Quick Start Guide Installation
What is Included
Mounting the Phase Connect
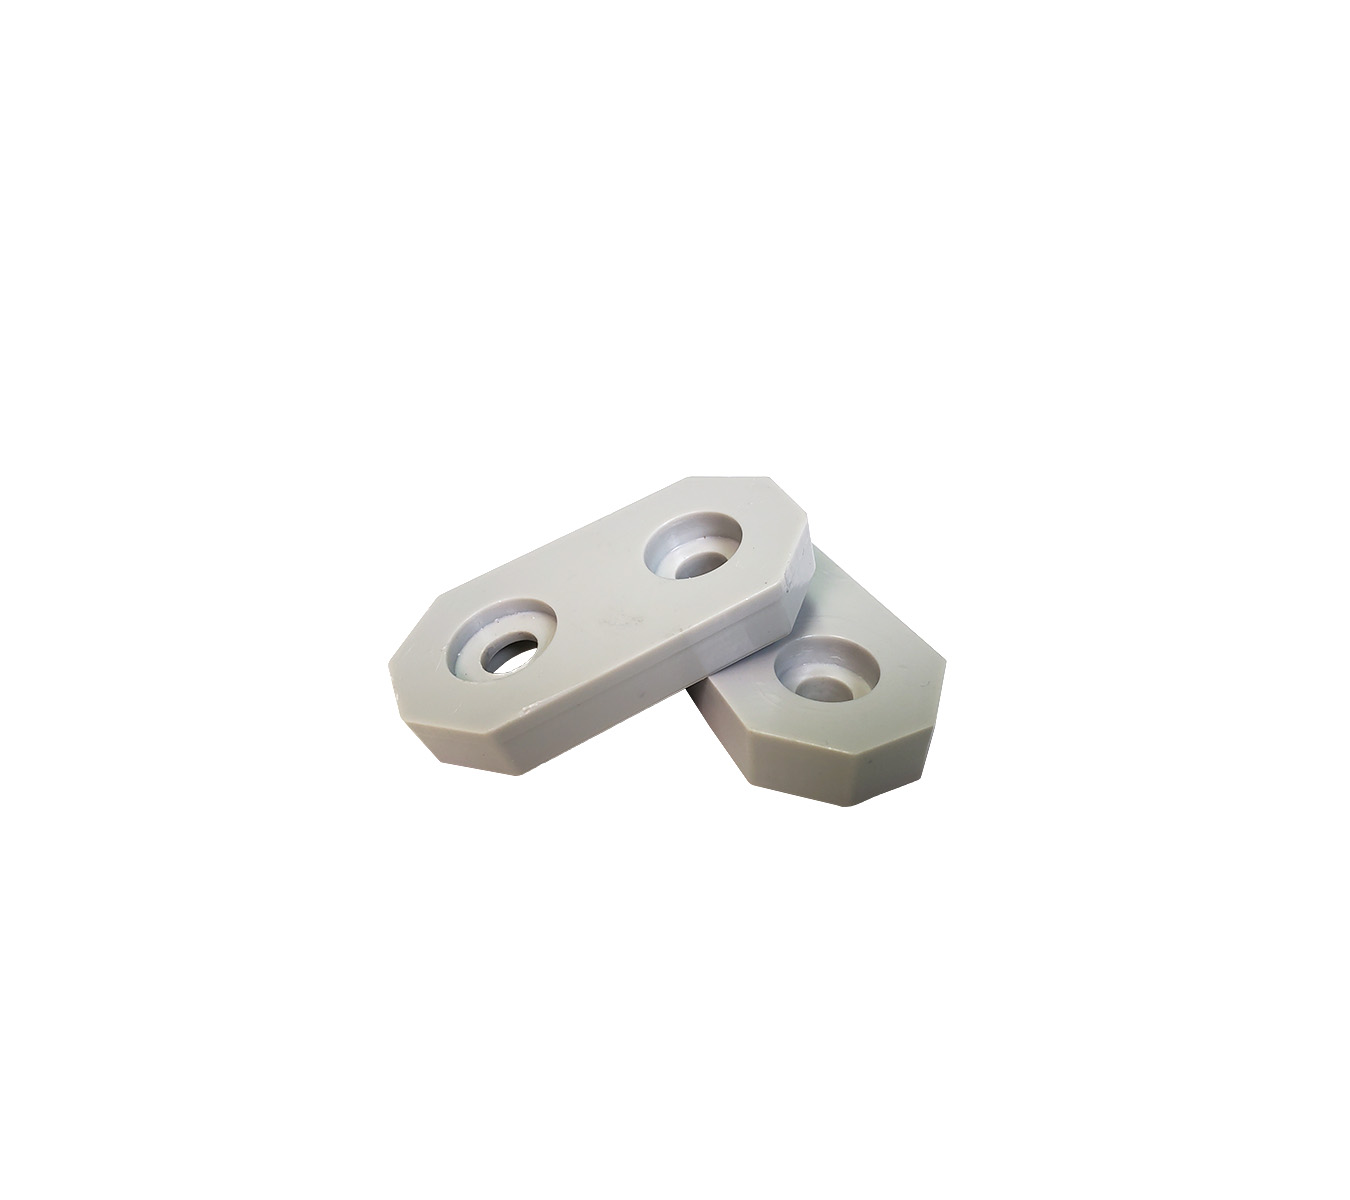
- Fasten mounting brackets to back of enclosure with supplied screws.
- Install fasteners to wall 6 5/8" (168mm) or 8 7/16" (214mm) center to center, depending on bracket configuration. Max fastener size 3/16".
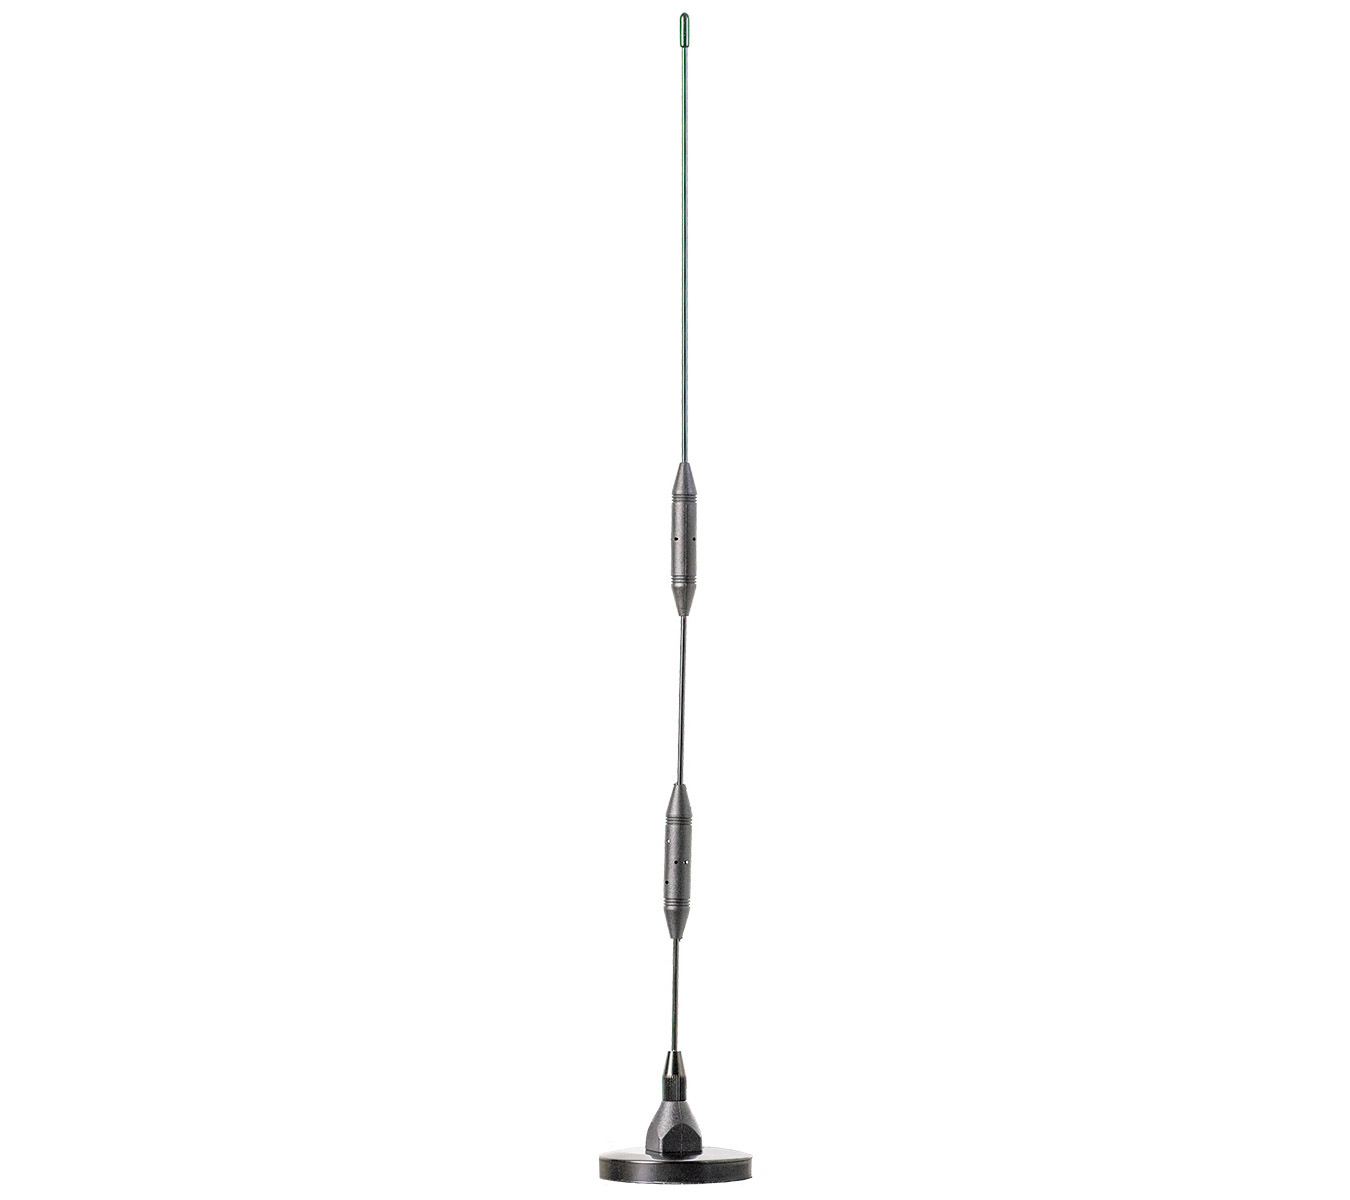
Connect Antenna
- Unlatch and open cover of unit.
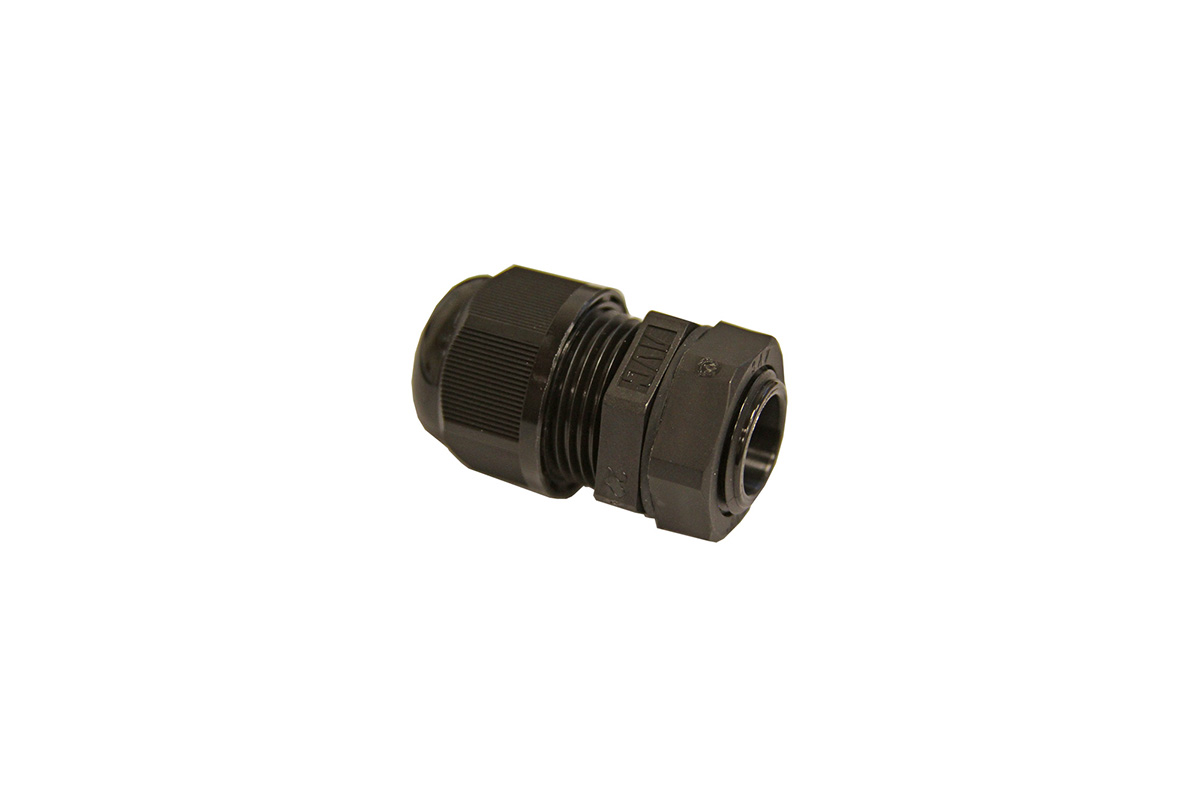
- Route the antenna cable through the bottom of the chassis after installing cord grip.
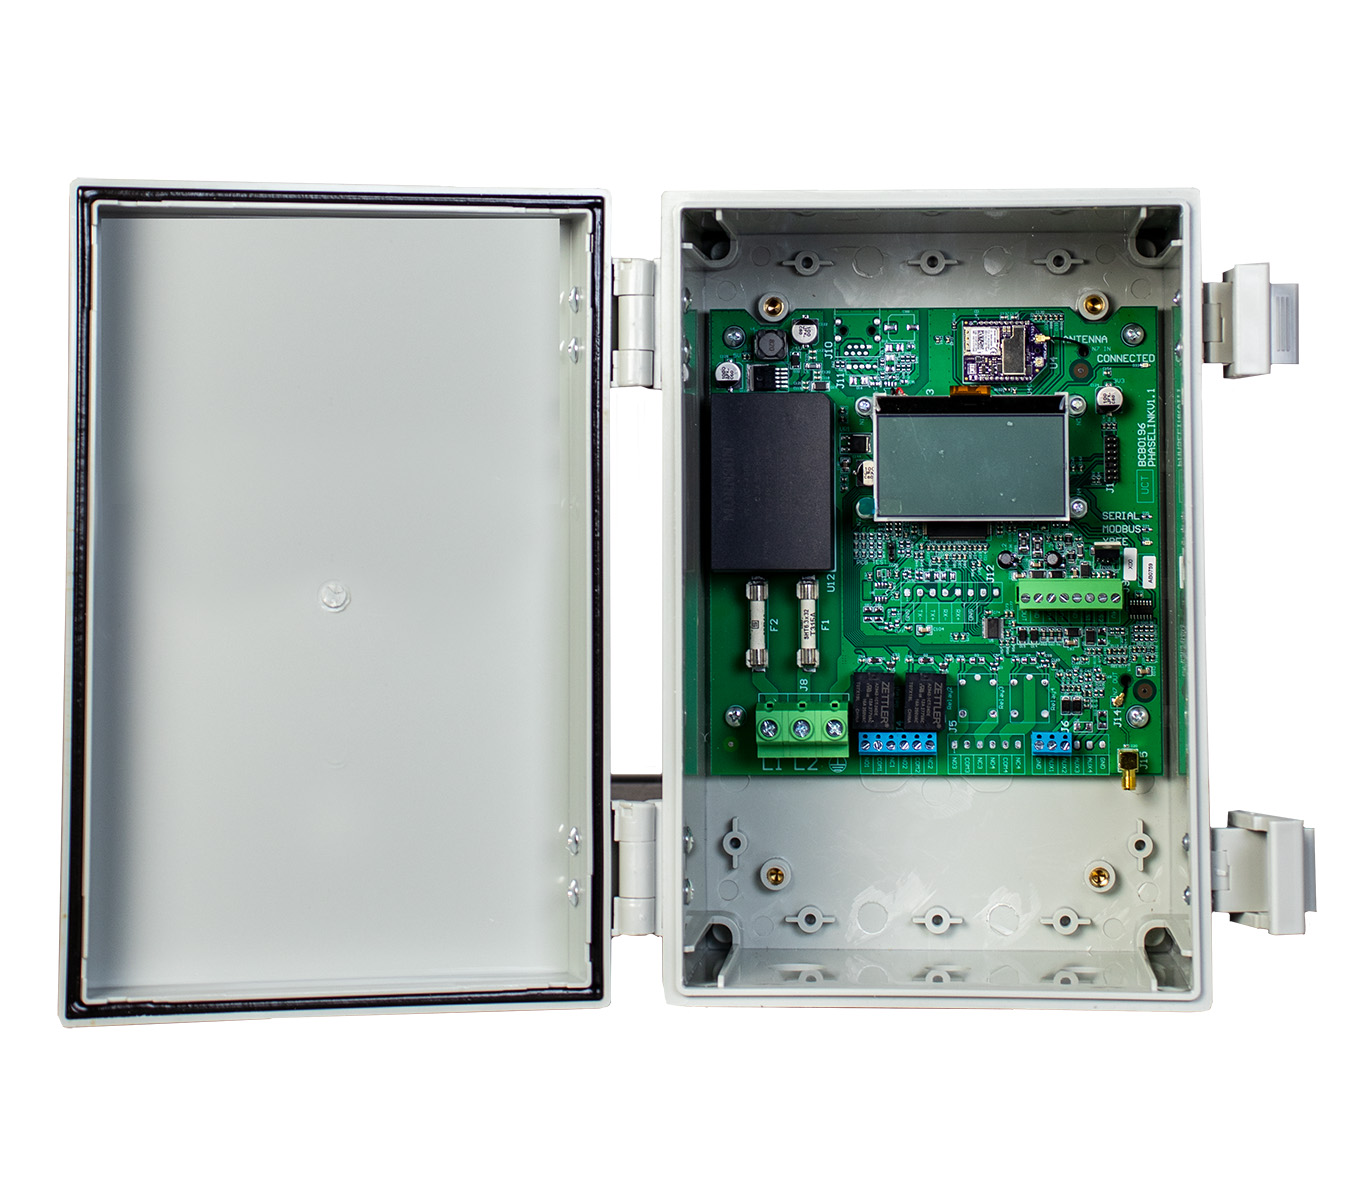
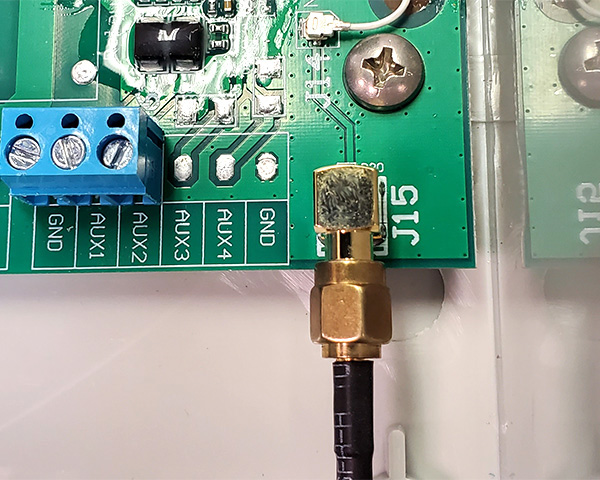
- Connect antenna lead by screwing onto the connector labeled J15, located on the bottom right-hand corner of the main circuit board.
- If the device is installed inside a metal building, the antenna cable may need to be routed through an exterior wall so the antenna can be mounted outside the building.
Connect Power
- Route power cable through another cord grip in bottom of chassis.
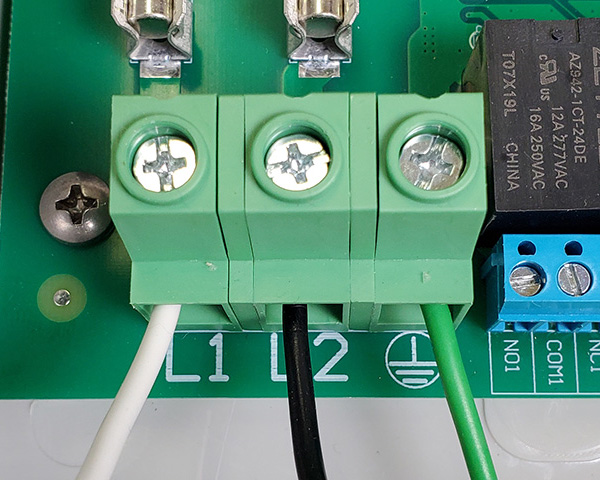
- Connect power leads to L1 and L2 on the power terminal block, located on the
bottom left-hand corner of the main circuit board.
Note: Any common North American alternating current supply can be used, from 100-480 volts. VFD power source must be used for power failure notifications.
-
Secure the ground wire into the terminal marked with the ground symbol.
Note: 4ohms or less to earth ground recommended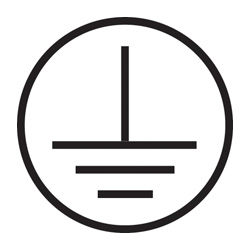
Activate Device
To create an account, or add a device to your existing account,
go to https://connect.phasetechnologies.com
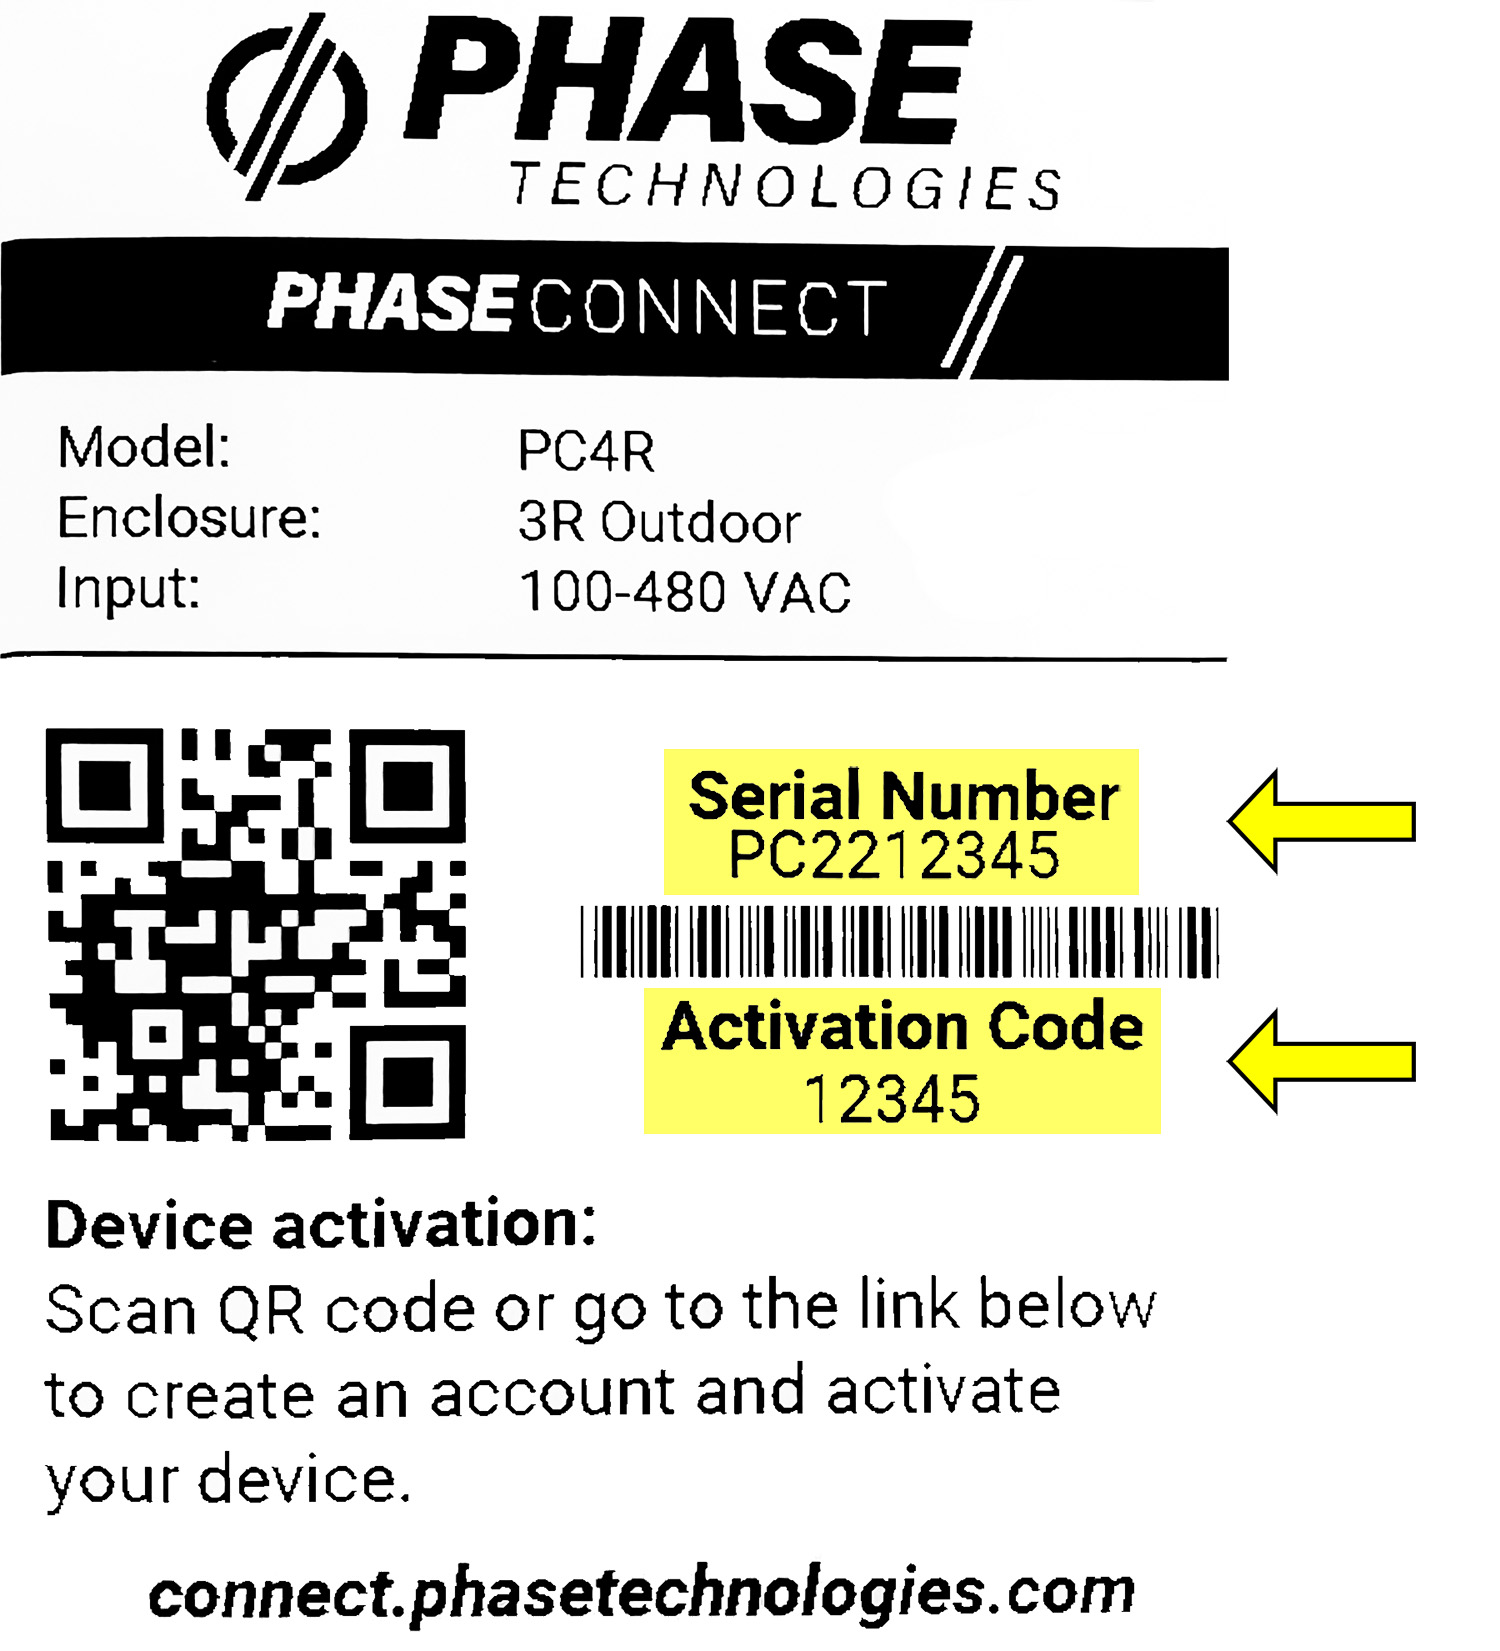
After signing up for an account and accepting the terms, you will be prompted to activate your Phase Connect device. If you already have active devices, you will need to click on the "Activate New Device" button in the top right corner of the "View Devices" page. Enter the device Serial Number and Activation Code, which are found on a sticker inside the device.
The first connection process should take about 30 minutes but can take up to 24 hours depending on cellular reception.
